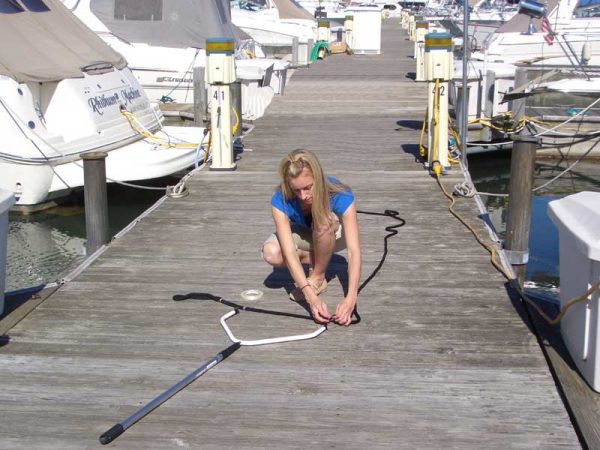
Step One: Prepare LINE for docking
Assign one or several of your 25Ft or 35ft lines
to be used with the Landing Loop™. Then place your Landing Loop™ with the frame
attached on to the pier as shown. Place your line in front of the frame as
shown. Place a mark using waxed twine, or water proof tape about 6 inches away
from the pre-formed loop on your line and align that mark with one of the
Landing Loop™ tips. Then place another mark on the line that aligns with the
other tip of your Landing Loop™. (This procedure will be done this one time
only and will assist you later when you load the frame for docking.)
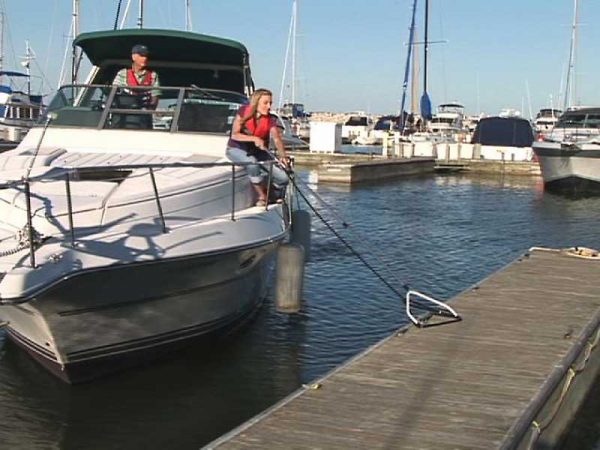
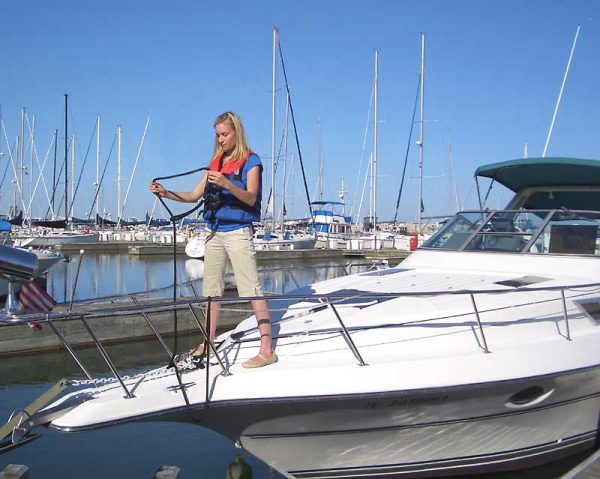
Step Two: PREPARE YOURSELF FOR DOCKING
BEFORE USING YOUR LANDINGLOOP™, BE SURE TO PUT ON A U. S. COAST
GUARD APPROVED PFD. Stand on your boat near the cleat that you want to use for
docking. Make sure that the boat cleat and the cleat on the dock are free from
any other lines. Place the line over the outside of any railing and then put
the loose end through or near that cleat. Be sure that the line will not get
tangled on the railing, any other object, or any of your body parts.
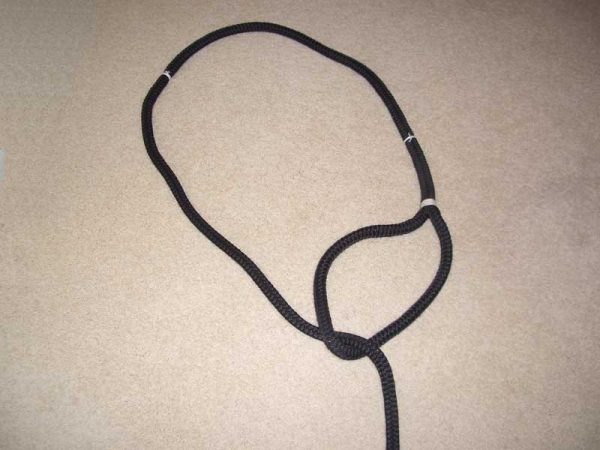
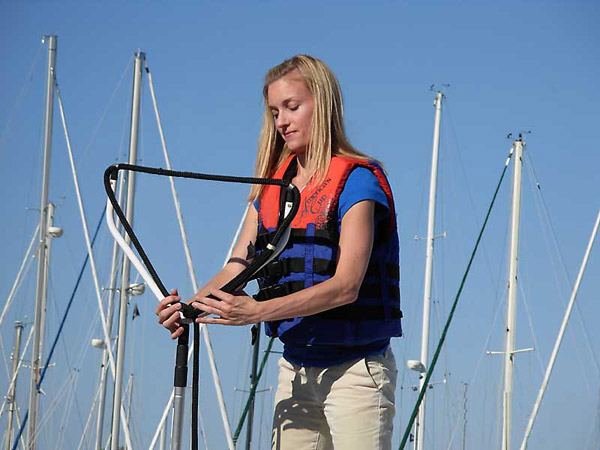
Step Three: Follow the simple instructions
Make a slip knot using the pre-formed loop on your docking line as
shown in the above picture - how your pre-marked spots appear on the slip knot.
Step Four: Pay close attention to the photos
Hold the line at the two pre-marked spots that you placed on the
line in Step One.
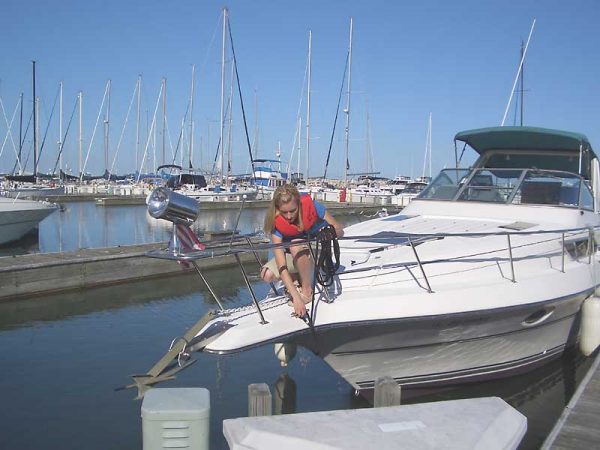
Step Five: Practice MAKES PERFECT
Place the two pre-marked spots of your line on to the two tips of
the Landing Loop™ Frame. It will make a large loop around the frame of your
Landing Loop™.
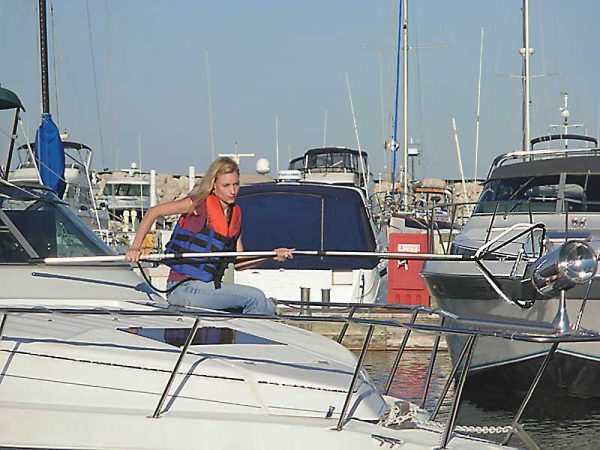
Step Six: Captain has the last word
At the direction of the boat’s captain, extend the pole as needed.
The pole will extend up to approximately 11 feet. Keep a slight tension on the
line as it slides through your hands as you extend the pole.